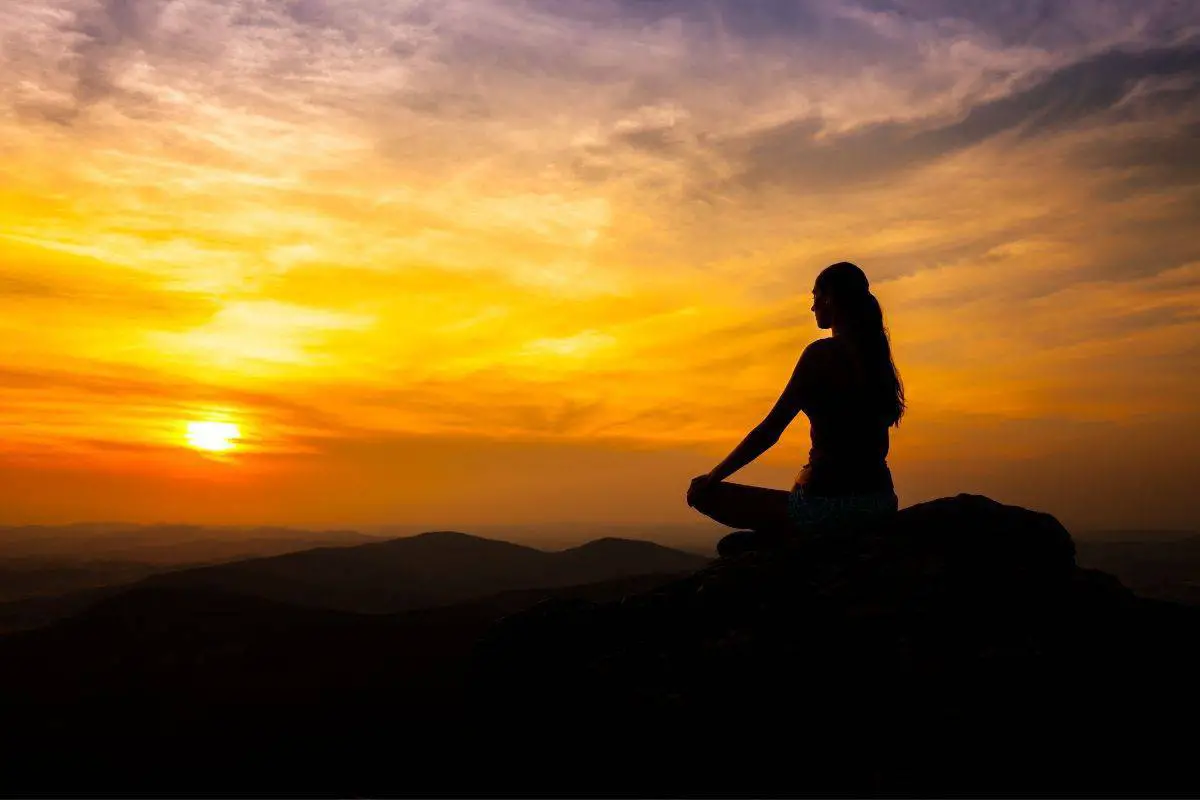
Exercising in order to maintain a healthy lifestyle is just as important after knee-replacement surgery as it was pre-op. But which exercises are safe to do, and which will make your knee feel worse? Is doing yoga — with its emphasis on stretching — a good idea or wholly misguided?
It is possible to do yoga after a knee replacement. However, not all yoga poses are advisable. There are certain poses that support your knee, others you can do with modifications and some that you should avoid altogether.
Below, we look into the important details you should consider before you dive back into your yoga practice or try yoga for the first time after surgery.
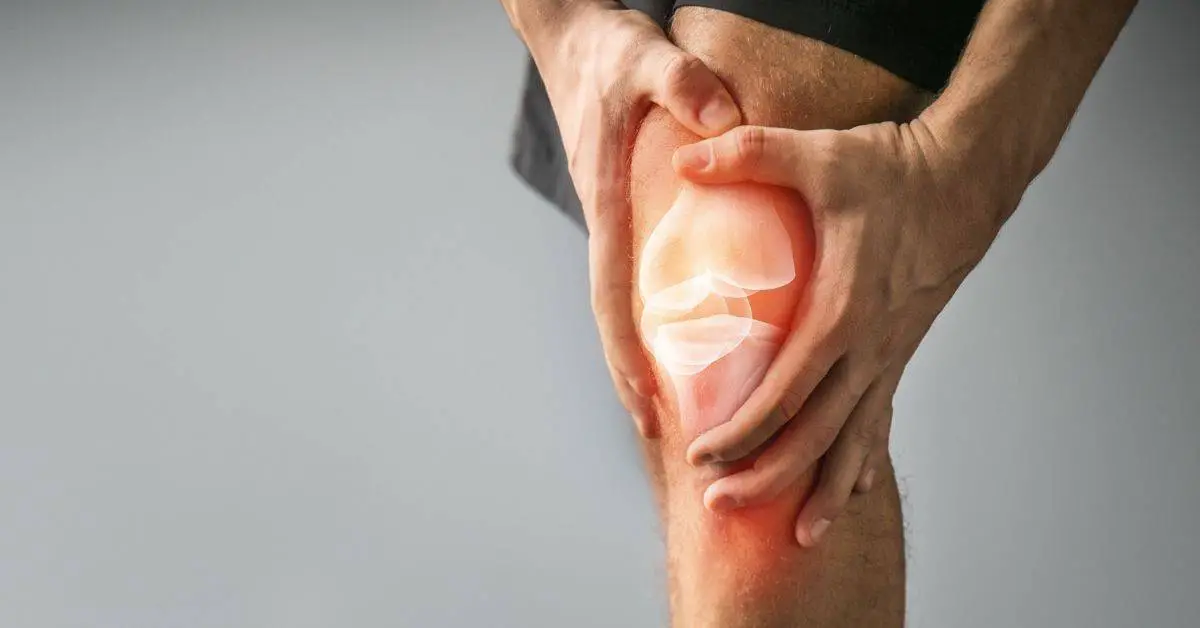
What Happens After a Knee Replacement?
There are a number of factors that could prompt your doctor to recommend surgery. Injuring your knee, illness, and years of wear-and-tear can all negatively impact the cartilage that surrounds the bones in your knee.
During the surgery known as “knee arthroplasty,” the surgeon removes the damaged bones and cartilage from your knee and inserts a joint that could be made of metal, plastic, and/ or ceramic.
Once you return home after spending a few nights in the hospital, you will need a walker or crutches to help you move about. For the first month or month-and-a-half, you will likely need assistance with things like bathing and doing chores around the house.
It’s important to be active in the weeks following your return home from the hospital, but the most important thing is to listen to your doctor. If you don’t move at all, you run the risk of prolonging your recovery. But exercising too much could be damaging to your new joint.
In order to preserve your implant, it’s recommended that you use some kind of support, like a cane, after you’ve retired your crutches and until you’ve fully regained your balance. It’s inadvisable to do arduous or high-pressure exercises like running and jumping jacks.
What Are the Benefits of Doing Yoga After Surgery?
When performed properly, yoga has the potential to provide several advantages while you recover.
Increased flexibility and increased muscle strength are two of the more tangible benefits. Yoga can also help improve your posture. This is often particularly advantageous for people who suffer from joint pain since that pain frequently leads to limping, which is bad for your posture.
Less physical but no less important benefits of yoga post-surgery include relaxation and stress relief.
What Are the Potential Risks of Doing Yoga After Surgery?
Surgery places stress upon the tissues that surround the knee. Because of this, those tissues may be more vulnerable post-surgery to injury.
That is why it is particularly important to consult with your yoga teacher. While yoga is not inherently dangerous, it may carry the risk of injury if poses are not performed properly or if poses that exceed your range of mobility are attempted.
Remember: Yoga should never be painful. If you experience pain in any posture, do not play through. Come out of it and either modify or try a new position.
Things to Keep in Mind After Surgery
Yoga could be perfectly all right and even beneficial. However, there are certain things you will want to consider first.
The Type of Joint You Have
Not all knee-replacement joints are the same and most have certain limitations. For example, a prosthetic joint is made for everyday use: not for higher-level yoga. You should ask your doctor about the limitations inherent to your joint before you begin to research the safest yoga poses.
Sitting On and Standing Up From the Floor
Do you have a tough time sitting down on the floor, or is it relatively easy? How about when you try to stand back up — do you feel any pain in your knee?
How difficult or easy you find maneuvering up from and down to the floor will give you a good idea of the kinds of poses and routines (many of which entail both standing and floor-work) you will be able to handle — and safely enjoy.
How Much Time Has Passed Since Surgery
The amount of time you need to wait before you can begin to practice yoga will vary. Some people are able to dive in after a few months, while others need to wait a year or longer.
The type of joint you have and your personal medical history both play large roles in determining when you can start doing yoga. As always, consulting your doctor on these matters is crucial.
That being said, there are aspects of yoga that you can begin to enjoy right away. Meditation and yoga techniques for breathing called “pranayama” are two things you can start to practice directly from your hospital bed if you like. Remember that yoga can be as much a spiritual practice as a physical one.
Questions to Answer Before Practicing
In addition to speaking with your doctor, it’s a good idea to reach out to your physical therapist and even your prospective yoga teacher before you begin to practice routines. Some questions these professionals might ask you before they give you the all-clear could include:
- Do you have arthritis anywhere else? This will give them an idea of your overall joint health, and could lead to more specific, nuanced recommendations regarding advisable and inadvisable yoga poses — or even if yoga is the best exercise for you.
- Do you have any pain in your hips or your back? Your answer to this question will also give them a clearer understanding of what your body can handle. Remember that as much as you may want to feel fit again, pushing yourself while you are still experiencing pain risks setting yourself back in your recovery.
- Are you in any pain near your knee? Any degree of discomfort is something you should share without qualification. The more specific your descriptions, the better the chances are that you will receive the best advice for your body.
- When did you have the surgery? As mentioned above, there is no single timeframe that indicates your readiness for yoga, but knowing how far along you are in your recovery is helpful.
- What is your mobility like? How are movements like walking, bending down, and sitting for you? As you’ll see below, there are poses and variations for a range of mobility, so more limited mobility may not fully bar you from doing yoga.
- Are you still doing PT? Your physical therapist has a course of treatment in mind, so making sure that yoga fits into this plan is key. As always, any professional course of treatment and professional recommendations come first.
What Are the Best Practices and Poses?
Now that you’ve consulted with the professionals on your team and have a better understanding of your readiness and needs, it’s time to get down to the nitty-gritty: What yoga should you do?
Chair Yoga
While the word “yoga” generally conjures images of bodies in graceful poses sitting, standing, or laying on the ground, there is a whole world of yoga you can do without once unfurling your mat.
Chair Yoga is a great option for those early on in their recovery but have still been given the OK to practice some form of yoga. As the name suggests, this type of yoga is practiced from a seated position in a chair. The focus is mainly on upper-body strength, so no pressure should be exerted upon your knees.
Among others, Chair Yoga poses can include:
- Neck releases. This pose entails tucking your chin to your chest so that you feel a stretch in the back of your neck. You may look to either side so that you feel the stretch on both the right and left sides of your neck.
- Side bends. You can feel a nice stretch in your sides by lifting and curving one arm at a time up and over your head. This is also referred to as “half moon” because of the half-moon shape your raised, curved arm makes.
- Chest openers. This pose stretches through your chest when you place your hands on your lower back, pull your elbows back, look up toward the ceiling, and “open” your chest.
- Seated twists. A nice upper-body stretch, a seated twist will have you placing your left hand on your right knee before twisting your torso to the right. Open your chest and hold a moment in the twist before releasing and repeating on the other side.
If you are not attending a class in-person, it’s a good idea to seek out videos so that you can see how these poses look when properly performed and so that you can check to see if you are doing them correctly.
This helpful video from Darcie Clark Yoga shows you a quick, 15-minute Chair Yoga routine in action:
As you progress through your recovery, you may be cleared to begin attending other yoga classes. Restorative Yoga classes offer a great way to ease into practicing. They tend to move at a slower pace and make use of props while focusing on relaxation.
Some other poses that you may want to look into later on include:
Bridge Pose
This is a pose that helps strengthen your hamstrings, which are muscles that support your knees.
While lying on the ground, bend your knees, keeping your feet planted on the floor. With your arms at your sides and your palms to the earth, lift your pelvis toward the ceiling, lifting your buttocks from the ground as well. Hold for half a minute or so.
Warriors 1 and 2
These are two poses that help strengthen the muscles in your legs and your hips. As the names suggest, they are stances of strength reminiscent of ancient warriors. For specific steps that help you enter these poses, see here for Warrior 1 and here for Warrior 2.
Mountain Pose (With a Block)
The mountain pose might seem simple — standing tall and straight with your arms held out slightly to the sides — but it’s a wonderful resting posture. It also frequently serves as the beginning position for standing poses as well.
You can always add a little more to this classic pose by taking turns standing on one leg atop a block or other sturdy prop. While standing on your left leg, gently lift your right leg out to the side and then bring it back to the middle. Repeat the leg-lift a few times before switching legs.
By doing so, you will be strengthening your hips and thighs — and even helping your posture.
Locust Pose
This is another simple-looking pose that works wonders when it comes to developing your strength. Like the poses mentioned above, Locust Pose works to strengthen your legs, but it’s also great for the muscles in your back and arms.
Begin by lying on your belly. Then lift your legs, your upper torso, and your head. Lift your arms and send them back behind you, almost as if you were flying. Hold for half a minute or so, and repeat if desired.
These are all general sketches. As always, be sure to first watch a certified yoga instructor do these poses, and any other poses you might be considering, so that you know how to safely perform them.
Which Poses Should Be Avoided?
There are several yoga poses that, in their unmodified forms, are generally inadvisable for those with knee trouble. These can include:
- Hero pose. In this kneeling posture, you set your feet apart at a distance wider than your hips. Rather than resting your buttocks directly atop the backs of your heels, as you typically do when kneeling, you sit between your heels instead. Unfortunately, this pose stretches the ligaments in your knees. It should, therefore, not be attempted without modification.
- Lotus pose. This variation on a cross-legged seated position asks that you sit with each foot resting on the opposite thigh. It rotates your hips and ankle joints and the joints in your knee, but it is especially hard on the knees. In particular, the knee that is placed on top bears the brunt of the pressure.
- Camel pose. Another kneeling posture, the camel pose, entails kneeling on the floor with your legs spread apart, gripping the soles of your feet, and then arching back until you are looking at the wall behind you. This stretching pose is one to be avoided because of the amount of pressure it places on your knees.
- Revolved triangle pose. This standing pose, or twist, also places a great deal of pressure on both the knees. It calls for you to lock your front leg (and knee) while turning out your back hip, which exerts lateral pressure upon your back knee.
As always, consult your yoga instructor. They might be able to recommend possible variations on these poses that you can try instead.
Tips on Doing Yoga After Surgery
Remain Conscious of Your Alignment
Paying extra-careful attention to your alignment is important when practicing standing poses. While performing Warrior 1, for example, you will want to be certain that your toes are pointing in the same direction as your knees. What you do not want is any torquing of the joint in your knee that could negatively impact the cement.
Also, keep in mind that when you are practicing Warrior 2, you do not want your knee to move too far forward, past your ankle.
Use Props and Take Advantage of Variations
If you do want to try poses that include kneeling and have been cleared to do so, placing props like cushions, pillows, or blankets beneath your knees can go a long way toward mitigating discomfort.
On the other hand, if kneeling is too much for you, ask your instructor if there is a variation you can take instead. Many postures that include kneeling can be modified into a standing position or another, more comfortable seated position.
Remember That It’s Not All About the Knee
Doing poses that strengthen the muscles around your knee — rather than always focusing on the knee alone — can be very helpful as you recover. Poses like the ones mentioned above, which strengthen the muscles of your hips and below, can go a long way toward building up a support system for your knee.
Conclusion
Yoga after knee surgery is not by any means prohibitive. There are breathing techniques you can engage in right away and chair routines that you can do, which do not place pressure on your knees.
As you continue to recover, there are both seated and standing positions that focus on building strength in the muscles near your knee. These can work to support your new joint.
But just as there is no one-size-fits-all path to recovery, there is no single yoga pose or yoga routine right for every patient post-surgery. Consulting with the professionals on your team, including a doctor, a physical therapist, and a yoga instructor, will yield the best recommendations for you personally as you embark on your new yoga journey.
Sources
- WebMD: Slideshow: A Visual Guide to Knee Replacement
- OrthoInfo: Knee Replacement Implants
- Ocean Flow Fitness: Yoga after Knee surgery
- Hospital For Special Surgery: Is It Possible to Practice Yoga After Joint Replacement Surgery?
- YouTube: Chair Yoga for the Upper Body
- Allina Health: Energize your workday with upper-body chair yoga
- Yoga Journal: Bridge Pose
- Yoga Journal: Mountain Pose
- Yoga Journal: Locust Pose
- Yoga Journal: Hero Pose
- Ekhart Yoga: Warrior 1 Pose — Virabhadrasana I
- Ekhart Yoga: Warrior 2 Pose — Virabhadrasana II
- BlueCross BlueShield of Alabama: The Best and Worst Yoga Poses for Bad Knees
Sitasyoga.com is a participant in the Amazon Services LLC Associates Program, an affiliate advertising program designed to provide a means for sites to earn advertising fees by advertising and linking to Amazon.com. We also participate in other affiliate programs which compensate us for referring traffic.