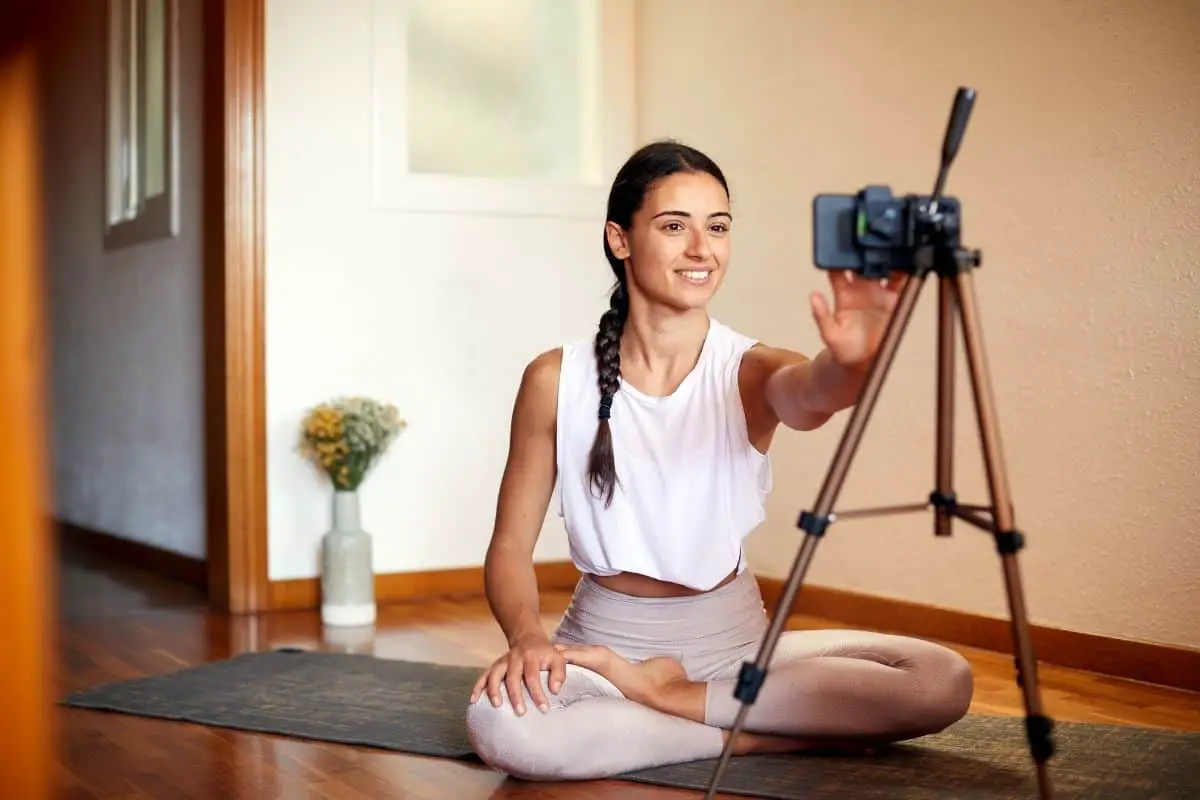
As many live classes have transitioned to online platforms, many yoga teachers are finding themselves online teachers for the first time. In this age of the pandemic, yoga teachers have often had no choice but to figure out how to use these new platforms as they go. Luckily, we’ve compiled everything you need to know if you, too, are looking to start teaching yoga online.
To teach yoga online, teachers can give live classes on platforms like Zoom or Mindbody. They can also post the recordings afterward on YouTube. The best news is this can all be done from home. With a computer or a smartphone, you can get started with your online yoga business today.
In the rest of this article, we will take a look at the top online platforms used by online yoga teachers. We will have an in-depth look at how to get started on Zoom and some tips for using Mindbody. We will also see how to grow a new YouTube channel to create additional passive income streams.
Use Zoom
Especially in the days of the pandemic, Zoom has exploded as the go-to platform for all types of meetings and classes. Yoga instructors have turned to Zoom as well as a place where they can host live classes and keep their regulars engaged even as everyone stays at home. However, for many yoga instructors, this is the first time they are dabbling with online teaching.

The technical aspects can seem a bit overwhelming at first, but not to worry. Let’s see how to get started using this platform.
Create a Premium Account
Zoom has options for free accounts as well as paid, premium accounts. A free Zoom account will allow you to host meetings for 40 minutes at a time. This limit may be shorter than you would like for your yoga classes. If you are interested in going over the 40-minute time restraint, you will need to purchase a premium Zoom account.
This premium account will also allow you to record your meetings. This is a great feature for teachers looking to build their YouTube channel as well. Both the free and paid versions of Zoom allow you to have up to 100 students attend your class at a time.
Create a Meeting
Once you have your Zoom account created, you’re reading to take the first step. You will need to select “Schedule a Meeting.” You will want to do this ahead of time, selecting a future date and time when you are looking to have your class. You can name the meeting, like how you would name your yoga class. There is also a place where you can add a description. Here, you can describe the type of yoga and style of class for any curious newcomers.
Once you have the name, description, time, and date, you will also need to input the duration of the class. You can do this with the drop-down feature that allows you to select the time in 15-minute increments. If you are a traveling yoga teacher, make sure you double-check your time zone as you confirm the day, time, and duration.
The meeting ID will be generated at this point, and you have an option to set a password for your meeting. If you plan on emailing the link personally to your paying clients, it may not be necessary to use a password. However, if you are openly sharing the meeting ID and want to make sure only approved, paying clients are accessing your classes, you may select the option to use a password at this time.
Next, you can select who is allowed to broadcast their video and audio. If you are teaching a yoga class, you will certainly want to make sure that the host video and audio are activated. By selecting “yes,” you will be able to share your video feed and your audio with all of your students. You can also select “yes” for the participants.
By seeing your students’ feed, you will be able to see what they’re doing to give them verbal corrections and help guide students more effectively. Students can turn off their live video feed anytime they want.
When it comes to audio, be sure to select “computer audio” instead of the telephone. This option is the more appropriate choice for yoga teachers since they will likely be performing the asanas as they speak and guide their students. By selecting this option, it eliminates any confusion for students who may wonder if they need to dial in as required with a telephone audio selection.
There are many custom features available when you get to the Meeting Options. These include letting participants join before the host arrives, muting everyone as they arrive, requiring authentication before entry, among others. A feature that may be particularly useful to the yoga teacher is the “Enable Waiting Room” option. This virtual waiting room creates a space where students can arrive early and be ready for when it is time for class to begin.
By now, you have completed all of the prompts required to Schedule A Meeting. Once you’ve gone through this process once, you will be able to save it as a template to use again. By creating a template for your classes, you will be able to schedule meetings more efficiently and automatically in the future.
Get Your Booking Set Up
Once you’ve created your meeting, you’ll need to get your booking set up so your students can easily sign up for your class. Unfortunately, there is not a booking feature built directly into the Zoom platform.
Some yoga teachers have been using the same platforms for booking as live classes, such as Mindbody, GloFox, or other comparable platforms. The Zoom link can easily be shared with the students who have signed up and paid for the class from these booking sites.
This approach is particularly common with teachers who are used to giving classes through a studio. Studios are more likely to have these types of business management booking software since most of them cost a subscription fee. The fee may be worth it for a studio, but it might not make much sense economically for a freelance yoga teacher.
If studios continue to give their classes online, they are likely to continue to use the booking platform that students are accustomed to using.

For freelancing yoga teachers, they may opt for a more independent option that doesn’t require investment in yet another platform. If the yoga teacher has their own website, they can sell the class as a product on their site. This way, the student first adds the class to their cart and pays for it through the site through PayPal (or another comparable platform). Finally, when the transaction is complete, the teacher can share the link with this student.
This approach is best for teachers who are not dealing with hundreds of students, as sending out the individual link to everyone may be a lot to keep track of. This method works well for smaller-sized, more personal classes where the students don’t mind searching out this teacher and booking classes individually.
If you are a newer yoga teacher who does not yet have a website or booking platform but still has students interested in online classes, don’t lose hope. You can coordinate with your students over any online platform where you can share the Zoom invite as well as your PayPal information. Students can pay and join your class without a centralized platform.
Some yoga teachers create Whatsapp Groups or something similar to communicate with their students if they are looking to give classes this way. Instagram or Facebook can be another way to advertise your classes and provide PayPal information.
Wherever you already are communicating with your students is a good place to start with this method. Wherever you choose to communicate with your students, you can always wait until payment is complete to provide the Zoom link.
Technical Tips for Filming
Once your meeting is set, you’re ready to set up the actual filming of your yoga instruction. By setting up ahead of time, you have a chance to test all of your equipment and be prepared for the live class. What is most important is that your students will be able to see you and hear you clearly. This means you will need a well-lit space and the ability to get a clear audio stream.
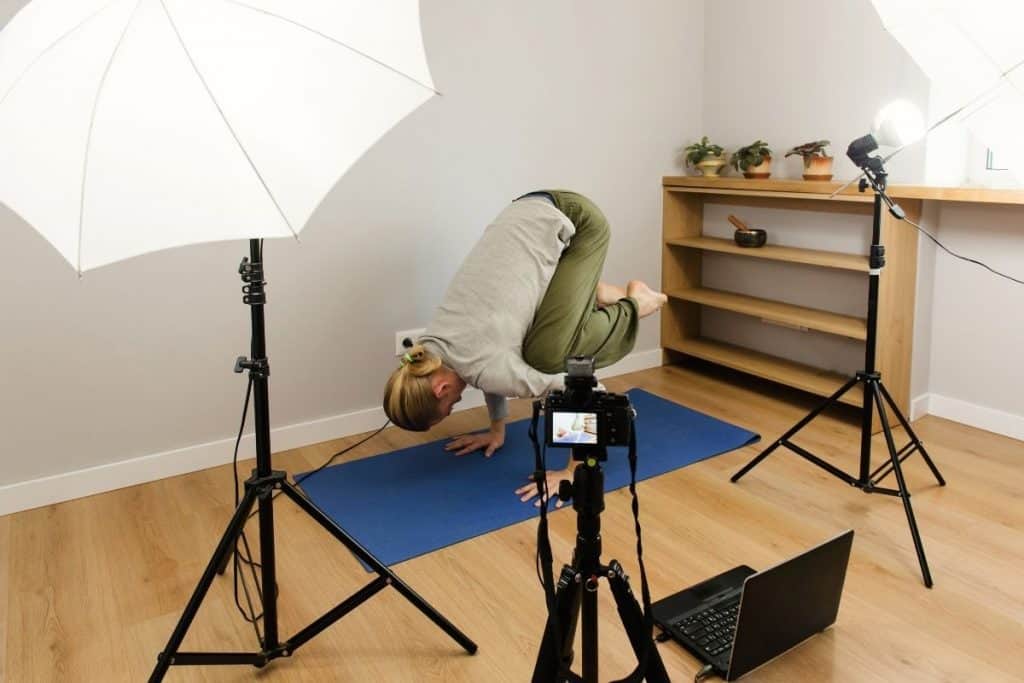
When it comes to the visual quality, natural light is great to easily create a well-lit area. If you are filming at night, the room’s existing lights could work, but be sure to preview this ahead of time. If things still appear dark, wrangle up some other lamps and lights and arrange them in a way so you can be clearly seen.
Minimalism is often best for yoga videos. Try to choose a clean, bright place without too much stuff and visual distraction. A blank wall or window behind you with clear floor space works great. This is often the go-to background that many yoga teachers choose.
For your body to be clear as you move through the poses, you may consider making sure your outfit is a different color than your mat or immediate surroundings. This will avoid any issue with your body blending into the background, making it hard for your students to see exactly what you are doing. The clearer they can see you, the better their online class experience will be.
When it comes to audio, you might be okay with the auto-adjusting mic that Zoom comes with. You can also plug in an additional microphone to your computer for enhanced audio quality. Once you find the right microphone set up for your computer and space, remember your clarity and pacing when giving the class. Try to speak clearly and avoid rushing. Students may get frustrated if they can’t understand or hear you as they try to follow along in this new medium.
You also have the option to record on your phone if that is more comfortable for you. All of the same considerations still apply. Test out how the space will appear with your phone’s camera and how the audio sounds. External microphones can be purchased and plugged into your phone if you are worried about audio quality. Your phone will likely have a better video resolution than your computer, so consider this if you are looking for a crystal clear shot.
Finally, remember that if you are recording your class on Zoom, you can upload it to YouTube later on. This feature is a great way to generate both active income through your live class and passive income from any YouTube monetization later on. In Zoom, you can choose to send your recording directly to your computer or be stored in the cloud. If you choose the cloud, you can access your recording later through your Zoom account.
For a more detailed explanation of how to set up your space and different options for equipment, you can check out this video by Yoga Ema on YouTube:
Additional Zoom Tips
When it comes to online teaching, you may have to get used to how you can most effectively instruct your classes at a distance. Without making personal adjustments or bringing up students to help with demonstrations, you may be wondering how you can be clear enough for all of your students.
One thing you can do is think of various ways to explain the same concept. If you are moving into a more challenging pose that you would have used a detailed demonstration for, consider how you verbally explain the pose as you show it yourself. Having a few ways to explain the more nuanced aspects of the pose will help different students in different ways.
You may also consider moving at an overall slower pace. Because people are not physically in the room with you, they may miss things from time to time and could find themselves lost in a fast-paced class. By speaking clearly and moving through the poses with a bit more time, you will allow everyone to keep up and stay engaged in the class.
You can also take this opportunity to help your students take ownership of their home practice. As yoga teachers, we always want our students to participate fully in their home practices and fully integrate yoga into their lives outside of the studio. By encouraging them to make their space ideal for them, perhaps with incense, candles, blankets, or cozy props, you will help them grow to love their home practice more and more.
Use Mindbody
Mindbody is a popular business management software for yoga studios that also allows students to browse classes, book, pay, and even attend live streams all from this central platform. Before the pandemic, it was a popular way for students to find classes in their area and for studios to manage the administration side of the business.
As more and more yoga classes are being forced online, Mindbody has added a live stream service that allows teachers to stream their classes right on the platform. This add-on lets students do everything from registering to savasana all on their app. However, depending on the Mindbody package your studio has, this live stream add-on may cost extra.
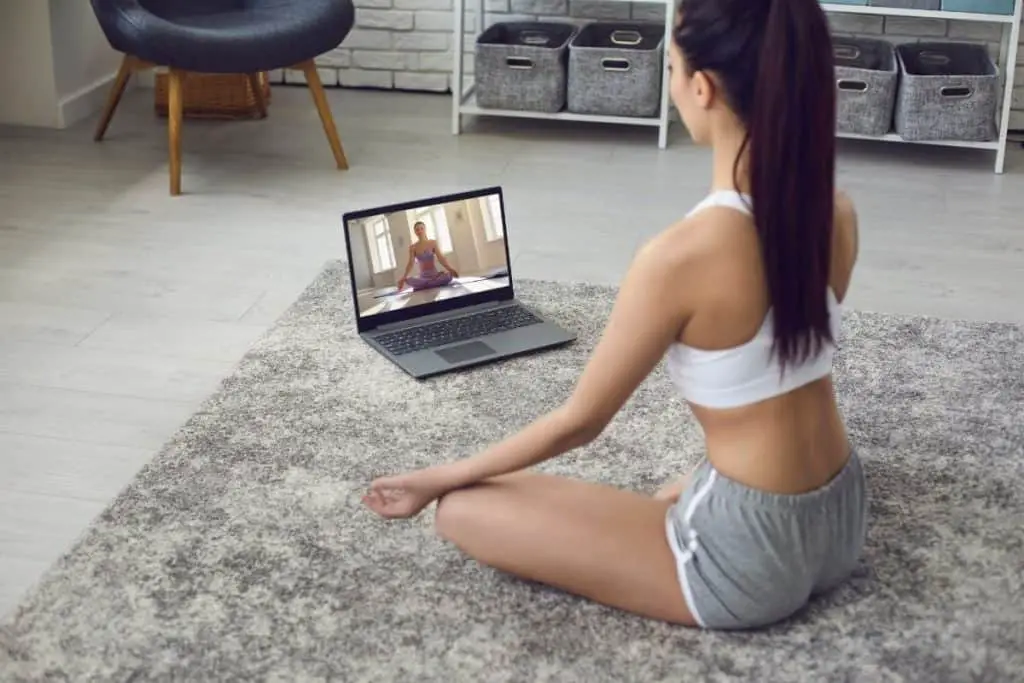
If you are a yoga teacher at a studio, your studio may have purchased a Mindbody subscription to use as its business management platform. If this is the case for you, there are two options for giving your regular classes online. If your studio has added the live stream option, you will be able to easily broadcast your class directly through the Mindbody platform.
If your studio has chosen not to add the live stream option, your students who are used to booking through Mindbody can still do so. You can teach on another platform, such as Zoom, and simply send the meeting link out to any students who have signed up. This is still a convenient option, as Mindbody is still taking care of all of the booking and payment logistics.
Mindbody may not be the best option for the freelance yoga teacher. Because it is designed for running a studio effectively, it will likely have too many features that a single yoga teacher does not need. Its price tag reflects these features, so a freelance yoga teacher may choose to pursue more suitable and affordable options.
Related articles:
Mindbody Software for Yoga Studios: Our Review and Experienc
Post YouTube Videos
As a yoga teacher, a popular option for teaching online could include starting a YouTube Channel. Many yoga teachers have become immensely popular on this platform and have reached a wide audience, and make a difference in people’s lives. This strategy is advantageous for the teacher because YouTube Channels become passive income streams once the initial phase of work is completed.

What Content Will You Create?
When getting started with your YouTube Channel, take a moment to consider what type of content you want to make. Will you be uploading full-length yoga classes? Or will you have shorter, more beginner-friendly videos as well? Are you interested in complementary content, such as leading meditations or touching on aspects of the yogic lifestyle?
While you can certainly pivot as you go, the more clear you can be with yourself from the beginning will help give your channel a clear vision. This will help people know what you’re about when they discover your channel. If what you are presenting is appealing to their needs, they will be more likely to like and subscribe than if they are unsure what type of content you may be regularly creating.
If you’re bursting with ideas, you may consider making more than one channel. By creating more than one place to publish your videos, you can organize your ideas more clearly and accessible. This helps potential subscribers be more clear on what they will find on any given channel. Someone who wants yoga videos may not be interested in lifestyle content. If there is too much happening in one place, they may move on to a more clear channel.
Who Is Your Audience?
Another question you can ask yourself as you get started is: Who will watch my videos? The answer to this will help guide your ideas to best fit your target audience. Perhaps you want to target beginners, making shorter, accessible practices with plenty of modifications and explanations. Maybe you want to appeal to more experienced yogis, leading viewers through more vigorous flows with less time spent on alignment.
When you decide the type of viewer you want to appeal to, you will be able to organize your content around that viewership. This clarity will help keep your videos consistent and appealing to your base. It can also help you decide the length of your videos and how you carry them out.
When Will You Post?
No matter what you decide as far as the content you wish to create, you still have to play YouTube’s algorithm game to some extent. Understanding better what helps YouTube favor certain videos, you are increasing your chances of your videos being suggested to new viewers. When more people are exposed to your content, more people will be able to like, subscribe and support your channel.
Part of this is simply your schedule of posting content. By being consistent with when and how you post, YouTube’s algorithm is more likely to favor your videos. Simply choose a day and time that you will consistently post each week. You can even automate the posting in your settings so that you don’t have to worry about personally uploading at exactly that time.
You can share this schedule with your audience as well. You can mention it on your page or even in your individual videos. Simply saying, “New videos every Monday” helps your viewer know that you are creating new content, even if they happened to discover you from an old video. They are more likely to subscribe if they know you will be putting out new videos that may interest them.
What Are the Details of Your Brand?
There are so many small details to consider when trying to build a successful YouTube channel. For example, by using the same font on your thumbnail images each time, you build up the visual representation of your brand. This style becomes recognizable to viewers, and they will notice your videos more and more quickly if they automatically recognize your brand.
By choosing a design and sticking with it, it becomes very clear what videos are yours and will help people click on them without reading or investigating too much. As they come to trust you as their yoga instructor, they will be eager to watch more of your videos. The easier you make it for the viewer to identify you, the easier it will be for them to watch and support your channel.
You can also spend some time researching the types of keywords that will help people find your videos. By figuring out what types of keywords will help draw users to each of your videos, you are more likely to pop up on more and more people’s search results. This presence is the key to gaining more viewers, especially those seeking out the kind of content you are making.
How Will You Engage Your Viewers?
There are several ways to promote engagement when it comes to your YouTube channel. Sometimes new content creators feel uncomfortable blatantly asking their viewers to like, subscribe and comment below. If that feels forced on you, think of how you could engage your audience more meaningfully. Often with yoga videos, instructors encourage the viewers to share their experience in the comments below.
This can transform the comments section into a community space where people share how they felt as they did the yoga video. This is a great space for you to engage meaningfully with your viewers, liking their comments and responding to their experiences. This communication helps build a sense of community and will strengthen the bonds between you and your new digital students.
To keep your viewers on your channel, you can recommend a follow-up video to click on when they finish watching the video they selected. This next video could be a soothing meditation to follow a yoga practice or another video that feels like a natural progression. YouTube measures if viewers stay on your channel, so do your best to offer more content to your viewers.
If you have friends that are also teaching yoga online or creating other related content, you can consider collaborating. This helps you bring your viewers to your friend’s channel while your friend is doing the same for you. This crossover can be a great way to build community and create quality content across the viewership.
How Can I Monetize?
The more views and subscribers you get, the closer you come to monetizing your videos. With ad revenue accumulated from each view or, if your channel gets big enough, with a sponsor, you will be able to turn your YouTube Channel into an income stream. For more information about the specifics of monetizing your YouTube Channel, you can visit the official information here.

Additional Tips for the Online Yoga Teacher
Now that we have explored the different options for getting started as an online yoga teacher, let’s look at a few more tips to help you with your first class. Once you get the technical details sorted, you will want to think about creating the best class environment for your students. Here are some tips for you to do just that.
Make Sure Your Space Is Minimal and Has Good Lighting
You have probably put a lot of work into picking out your space, making sure it has enough light and is as attractive and minimal as possible. To keep this space as you intended it, be sure to notify any potential human disruptions that you’ll be recording a live class. This could include roommates, partners, family, or anyone else who could pop in while you’re in the middle of your class.
You can consider posting a sign on your door as well as stating that you are currently recording. Posting this could be advantageous if you’re worried about people ringing the doorbell, which may, in turn, cause the dog to start barking and create other noisy chaos in your class.
Remember to disable anything in your control that could cause disruptions. This includes cell phones, landlines, or anything else that could cause unwanted noise during your class.
Use Props
While you may have a healthy supply of blocks, bolsters, and straps in your house, this may not be true for all of your students. As you give your students options for modifications, think of what they can use in their home if they don’t have designated yoga props. For example, you can encourage them to grab a pillow to replace a bolster or a thick, heavy book to replace a block before class begins.
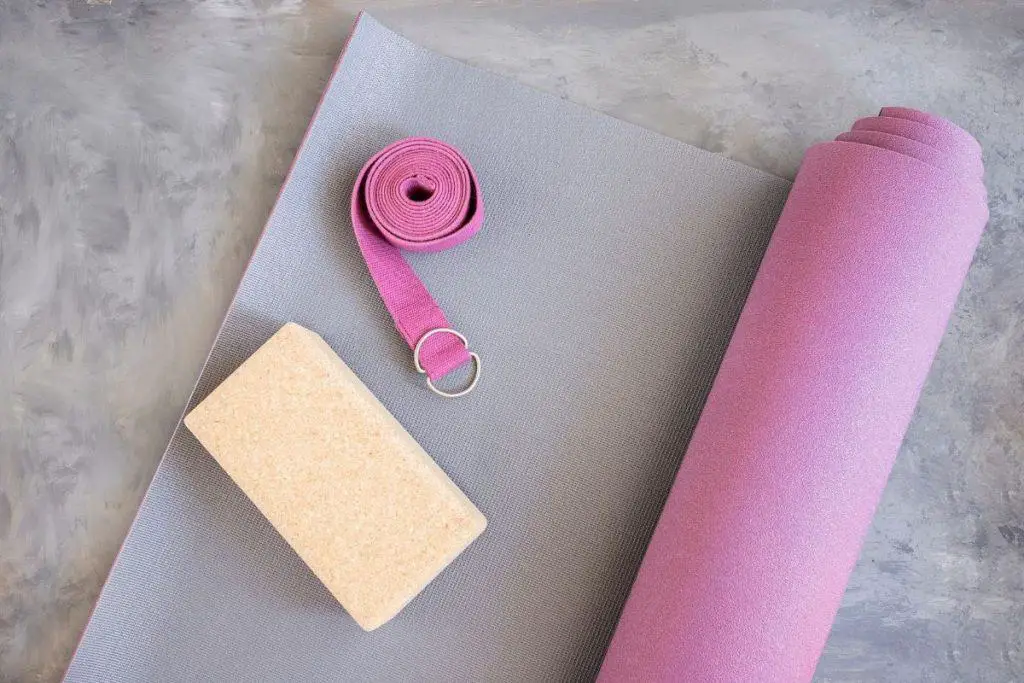
You can also give these suggestions in the event invitation to give everyone enough time to prepare props they might need. By listing out the props that could come in handy in class and providing some different household options, you give your students ample time to prepare. You could also offer links if they want to purchase these items themselves. This could even be a way to support you as a teacher if you have affiliate links or a yoga apparel business.
Related articles:
9 Great Alternatives to Yoga Blocks (That Actually Work)
Check That You Have a Stable Internet Connection
Remember, you will need a stable internet connection throughout the duration of your class. Even homes with fast wifi can occasionally experience issues, so consider taking a few precautions before class gets started.
First, you can run a speed test to see the actual speed of your wifi. You will get three numbers back from a speed test: Ping, Download, and Upload. Low ping is good because it represents the time it takes for a message to be sent out from your computer and then return again. High download speeds are good because this represents how fast information can be downloaded to you.

Upload speeds can be lower than download speeds but still work fine. Of course, the higher, the better, as this number represents how quickly your information can be uploaded to the network. According to Zoom, an upload speed of 1.5 – 3.0Mbps should be sufficient to host a meeting. Zoom doesn’t specify a necessary download speed as most internet packages have sufficient download capacities for Zoom.
To give you a frame of reference, an internet package with a 20 – 25 Mbps download and 5 Mbps upload will likely give you the speed necessary for your online classes. If your speeds look good, but you seem to be struggling with stability, consider buying an ethernet cable. This cable allows you to hardwire your computer directly into your internet router. This step should help maximize your speeds and reduce any instability.
Know When To Mute
As the teacher, you can choose how you want to participate with your students. You can make adjustments to this as you become more experienced with the online platform as well. Some teachers choose to greet students audibly as they come in and let all microphones stay on through an opening chant. Before the first asana begins, the teacher can mute everyone else to avoid any disruptions that might appear in the student’s environment.

The teacher can also choose to turn everyone’s microphone back on at the end of class. This would allow a chance to have a closing chant together and close out the class as a community. This also gives a little space at the end if the teacher wants to chat a bit with students or hear their experiences.
Students can choose whether or not they want to share their video feed during the class itself. They may feel shy or uncomfortable with this, or they may enjoy the opportunity to receive verbal corrections. It is up to the students and teacher how this aspect of the online platform can be used.
Add Your Personal Touch
Taking online yoga classes is a unique opportunity for students and teachers to connect and share their practice in a more intimate way. Students may enjoy the personal feel of their favorite yoga class coming from your living room with your dog curled up next to your yoga mat. Take this opportunity to create a personalized class environment for your students.
You may feel more freedom to be yourself as you teach from your home environment. The more relaxed and authentic you feel, the more your students will enjoy the experience. You can think of this transition as an opportunity to create a fun and authentic class experience for you and your students.
Final Thoughts
Even though the pandemic has largely pushed this shift to online yoga classes to occur, it is not so clear that it will subside when the world becomes safer again. The intimacy and convenience of teaching and practicing at home may outlast social distancing rules and stay-at-home orders. If you take this opportunity to become an effective online yoga teacher, this is likely a skill that will be used even when live classes are available again.
Sources
- Columbia University: Working At Home
- Tech Radar: What is Zoom?
- Mindbody: Home
- Mindbody Online: Tips for Live Streaming Fitness Classes
- YouTube Creator Academy: Is Your Channel Ready to Earn Money?
- YouTube: How to Start a Yoga YouTube Channel
- YouTube: Technical Tips: How to Teach Yoga on Zoom
Sitasyoga.com is a participant in the Amazon Services LLC Associates Program, an affiliate advertising program designed to provide a means for sites to earn advertising fees by advertising and linking to Amazon.com. We also participate in other affiliate programs which compensate us for referring traffic.
